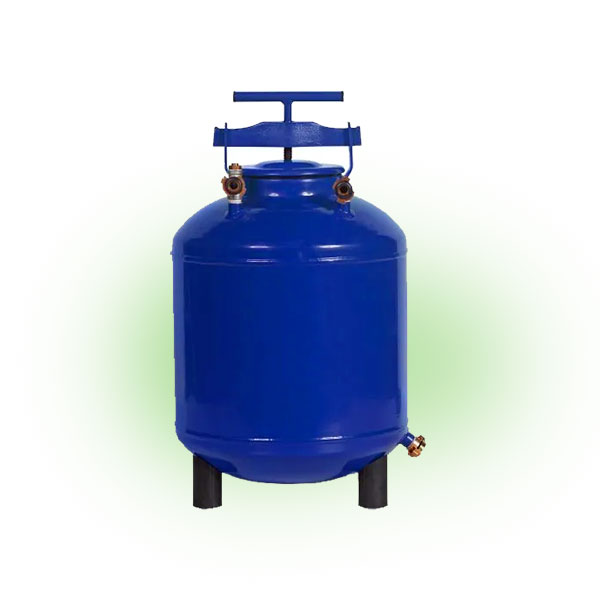
This fertilizer tank has been designed and manufactured to achieve the highest standards of quality and finish.
This fertilizer tank applies fertilizer to the quantitative principle. For best results, the fertilizer tank must be correctly installed and properly operated. Special attention must be given to draining and cleaning the tank and to appropriate maintenance.
Fertilizing can be performed continuously during irrigation or controlled (by controller or computer) as required, or manually operated. Irrigation with fertilizer is generally recommended during the first two-thirds of irrigation time. This ensures proper flushing of the irrigation systems and minimizes the clogging of the emitters by the chemicals.
Irrigation can be performed in one of two ways:
Irrigation without fertilizer:
Irrigation with fertilizer:
Spraying
Spraying pesticides through the Balson Fogger system has been tested successfully in various countries.
| Pressure Loss Inlet/Outlet (bar) (psi) |
Tank Capacity | ||||
| 60 Litters 16 U.s. Gallons | 90 Litters 24 U.s. Gallons | 120 Litters 32 U.s. Gallons | 220 Litters 58 U.s. Gallons | ||
| (1) | (2) | (3) | (4) | (5) | |
| 0.05 | 0.7 | 1 - 1⅟4 | 1¾ - 2 | 2 - 2½ | 3¾ - 4½ |
| 0.1 | 1.5 | ¾ - 1 | 1⅟4 - 1½ | 1½ - 2 | 2½ - 2¾ |
| 0.2 | 3 | ½ - ¾ | ¾ – 1 | 1 - 1½ | 1¾ - 2⅟4 |
| 0.4 | 6 | ⅓ - ½ | ½ - ¾ | ¾ - 1⅟4 | 1⅟4 – 1½ |
The fertilizing times are for general use only, and for fertilizers easily soluble in water. Actual times may be altered according to field conditions.
Columns 2 - 5: Indicate the time in hours, of fertilizing (until concentration becomes negligible).
Usually, fertilizing times are determined according to the type of fertilizer, crops, and experience.
NOTE
The fertilizing time is determined by the pressure loss.
Clean the tank end of fertigation and before storage. Cleaning the Tank